
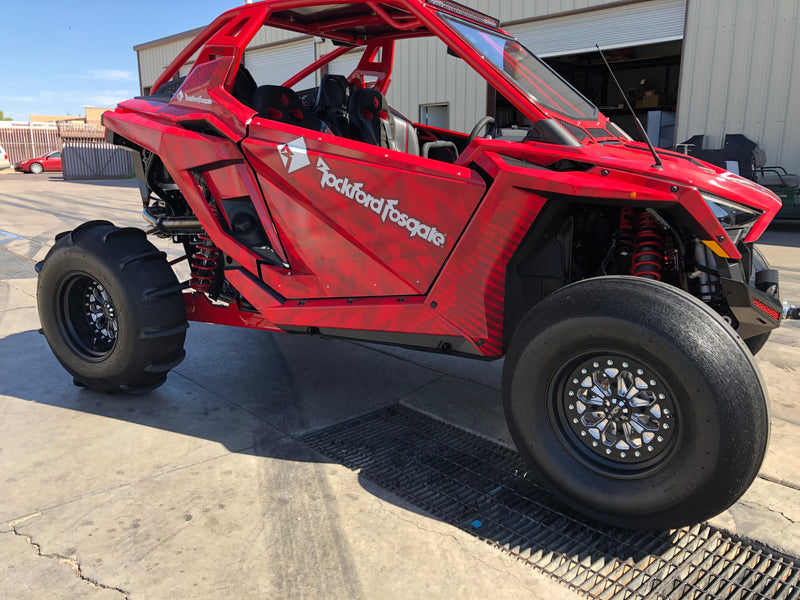
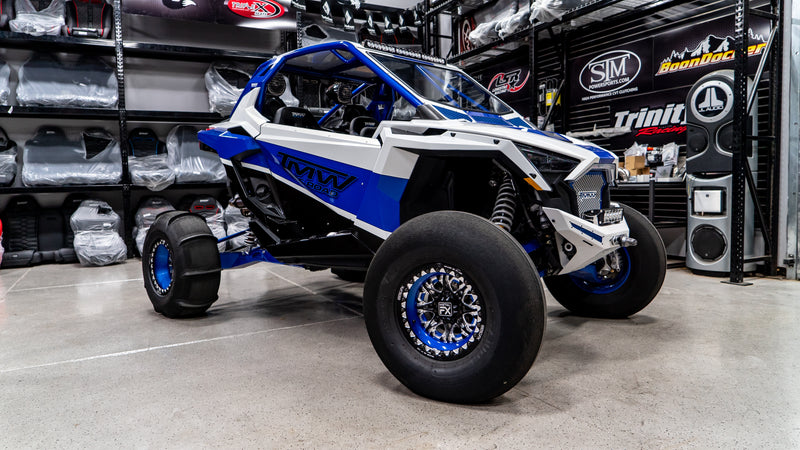
PRO 2 seat door install instructions
Here is the install video where we walk you through how to install our TMW Pro 2 seat doors.
Here is the install video where we walk you through how to install our TMW Pro 2 seat doors.


Hardware included in Kit:
26 - 1/4-20 x 1/2" Button Head Socket Head, Stainless
30 - 1/4-20 Nyloc Nuts, Stainless
4 - 1/4-20 x 3/4" Button Head Socket Head, Stainless
4 - 6mm x 1.0 x 20mm Button Head Socket Head, Stainless
4 - 6mm Flat Washers, Stainless
2 - 5/16-18 x 1" Hex Head Bolt, Zinc
2 - 5/16-18 Nyloc, Zinc
4 - 5/16 Flatwasher, Zinc
4 - Nylon Door Hinge Washers
2 - Nylon Door Limiter Strap
2 – Door End Caps
Installation instructions
NOTE: Driving off road is dangerous No warranty or representation is made to this product’s ability to protect the user from injury or death The user assumes that risk..

INSTRUCTIONS
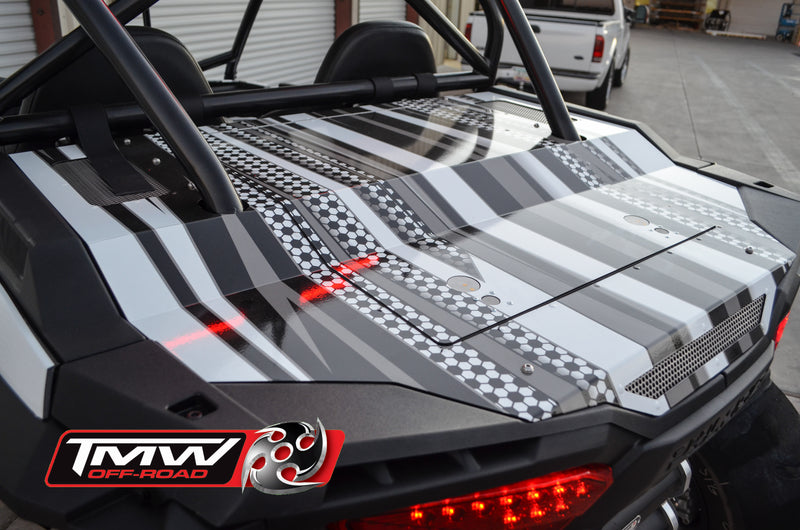
How to install TMW BED COVER
(Note) Please check with TMW sales rep to make sure the TMW BED COVER will work for your application. These bed covers are designed to work with TMW Roll Cages using it with any other Roll Cage may cause fitment issues.
**If installing on speed cage you will need to use Z brackets to mount shock reservoir. You will also need shorter style side vents in on 2017 and newer cars.**
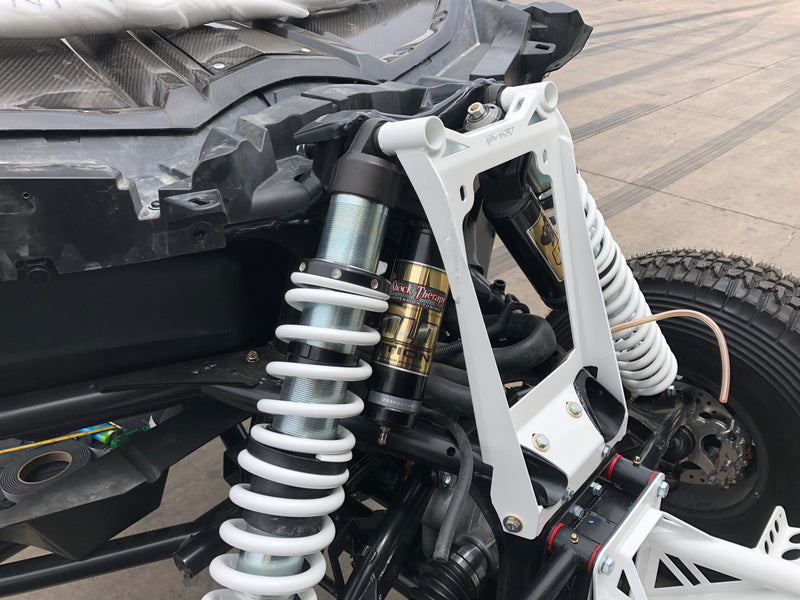
Step 1.) relocate your shock reservoirs. remove them from the roll cage and relocate them under the bed. we usually mount them on the main tube that rises vertically and connects to the roll cage. this is much easier to do before you install the roll cage. see photo A
Step 2.) Install the rear bed cover spacers. These mount in to the factory Polaris RZR flag mount area bolt comes up from the bottom through the first flat washers then threads into the spacer. another 1/4" flat washer is also used onto of the spacer between the bed cover and spacer. see photo B
Step 3.) the becover come assembled with lid and hinges and latches intact set bedcover down on top bed are roll cage tubes line up holes for rear bed cover spacers and install the 2 1/4" stainless blots
Step 4.) Now that the bed cover is aligned and in position locate the front mounting holes. use holes to mark location with sharpie on the roll cage tubes. remove the bed cover and drill the holes and install 1/4" nut certs, then reinstall bed cover and tighten all bolts up.
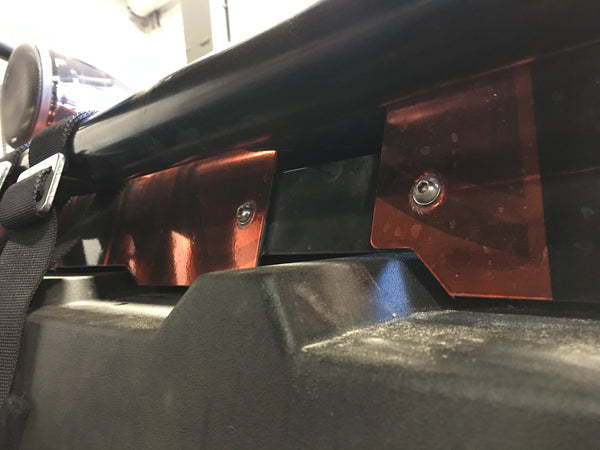
Step 5.) Install the support plates on the front edge of bed cover as shown. see photo D.
Step 6.) Enjoy you the new look and function of your ride.

Trunk Installed


TMW ST2 door Instructions
Step 1.) REMOVE FACTORY DOORS, REMOVE THE 2 HINGE BOLTS (13MM WRENCH)
Step 2.) Remove your Factory latch from your old door frame (SAVE LATCH AND HARDWARE THEY ARE REUSED)
Step 3.) Locate latch adjustment tab
Step4.) Install latch adjustment tab on the door frame using Latch adjustment tab hardware
STEP 5.) INSTALL LATCH ( USING FACTORY HARDWARE) ON TO THE LATCH ADJUSTMENT TAB
STEP 6.) INSTALL TMW LATCH RELEASE LEVERS ON TO THE LATCHES USING Latch Release Lever Hardware
STEP 7.) INSTALL HEIM JOINTS INTO REAR OF DOORS (NOTE SOME TIMEs POWDER IS BUILT UP AND NEEDS TO BE CLEARED OUT WITH A DRILL, HOLES ARE 8MM) USING Hinge Hardware Install heims with non nylock bolts and washers on both sides of the mounting tab. make sure the heims are short as possible to start adjusting.
step 8.) lay door skin on blanket and set door frame carefully on top of the door skin and align holes. using masking tape, mark tube location for foam tape install. remove frame and install foam tape on skin.
step 9.) bolt door skin to door frame using Door skin hardware
step 10.) install upper hinge mount tabs to top of upper heim using 45-5830 M8 x 1.25 x 30 in the Hinge Hardware
step 11.) prep lower hinge pin on factory frame with sand paper to make sure heim slides over pin easily.
step 12.) install doors on vehicle, while holding door frame slide lower heim on to the lower hinge mount.
step13.) latch door into place and bolt upper heim mount into position (note: there are extra nuts in the kit if the factory nuts are stripped out.
step 14.) use upper heim mount, Heim adjustments and latch adjustments to line doors up and get them working properly
step 15.) lastly use adjustment slots in the latch release lever so that it releases the latch properly (taking time to do this will make your doors much more enjoyable.) TAKE TIME TO ADJUST YOUR DOORS, BEFORE YOU TAKE TIME TO PLAY..
Page 2 of 3
Step 16.) Please make sure both doors are completely latched before driving otherwise your doors will fly open causing damage to persons or property.
Note : we do like the bottom of door frame to touch the body just before final stage of latching this keeps doors from making excess noise..
This is achieved by loosening upper hiem mount and pushing bottom of door closer to body
warning; failure to tighten hardware properly and failure to take enough time to make sure parts are adjusted and functioning before use, may result in injury or damage to vehicle. This article is sold without warranty, expressed or implied. No warranty or representation is made to this product's ability to protect the user from any injury or death. The user assumes that risk.

TMW OFFROAD Sidewinder XP4-1000 Doors
Step 1.)
Remove factory doors and factory B pillar plastic piece.
Step 2.)
Install B pillar center section and door hinge mount. Adjust this loosely .Lightly sand pins and then Install nylon washers on hinge pins before installing doors frames.
Step 3.)
Take the strikers for the factory rear doors and switch them from left to right,
installing the driver side factory striker on the passenger rear and the passenger
side rear striker on the driver rear. We have provided new striker mounts and
button head stainless hardware.
Step 4.)
Remove door latches from factory doors and install them on the new TMW
sidewinder door frames.
Step 5.)
Slide door frames onto center hinge section. Anti-seize will be necessary on pins to prevent doors from binding or failing. Check front door and rear door
frames for alignment first. Then adjust latches and center hinge section to
achieve proper alignment.
Step 6.)
Install door skins on door frames.
Step 7.)
Install rubber bumpers into body to keep doors from rubbing against the factory
body.
Step 8.)
Before you hit the trail, make sure all hardware is secure and latches are
functioning properly.
TMW OFF ROAD makes no claim to this product's ability to protect you or
passengers in any type of accident. The user assumes that risk! Off-roading is
dangerous, and you should always use proper safety equipment, seat belts,
helmets, etc. Remember to be safe and take time to play!


TMW ST4 Door Install Instructions
Completely assemble the rear doors and put them on the vehicle first. Then start the front doors. Use one of the one hardware kit for the rear doors and one kit for the front doors. Both hardware kits are the same


Buy the part here:
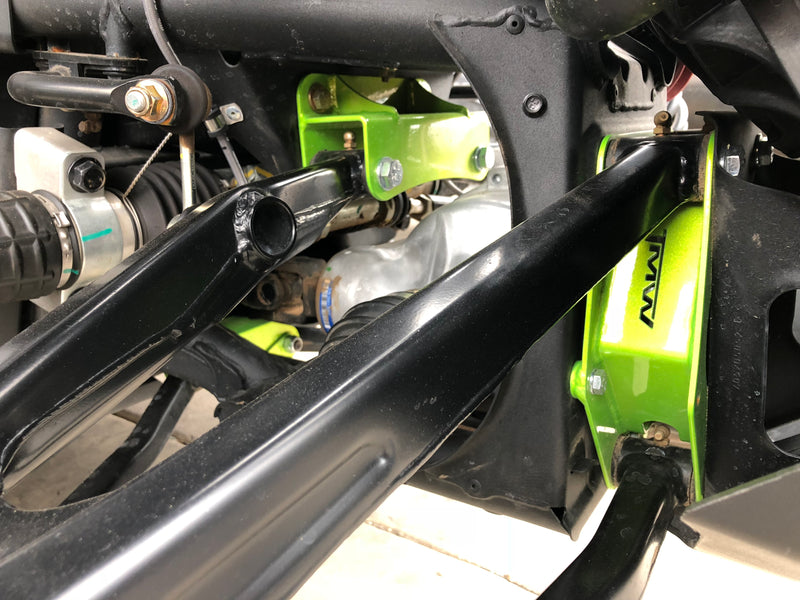
https://tmwoffroad.com/collections/canam/products/x3-bulk-head-gusset-kit


Buy the part here:
https://tmwoffroad.com/collections/canam/products/x3-pro-series-shock-tower-support
